Create a Snap to estimate gas fees
This tutorial walks you through creating a Snap that estimates gas fees.
The Snap uses the fetch API to request information from the internet, and displays custom
information in an alert dialog.
Prerequisites
- MetaMask Flask installed
- A text editor (for example, VS Code)
- Node version 20.11 or later
- Yarn
Steps
1. Set up the project
Create a new Snap project using the
@metamask/create-snap
starter kit by running:
yarn create @metamask/snap gas-estimation-snap
Next, cd into the gas-estimation-snap project directory and run:
yarn install
This initializes your development environment with the required dependencies.
Did you get a warning?
You may get a warning such as:
@lavamoat/allow-scripts has detected dependencies without configuration. explicit configuration required.
run "allow-scripts auto" to automatically populate the configuration.
You can resolve this error by running:
yarn run allow-scripts auto
2. (Optional) Customize your Snap's UX
This Snap is generated from a TypeScript template Snap. We recommend customizing your Snap to improve its UX, but this is optional for testing. If you don't wish to customize your Snap, skip to Step 3.
2.1. Provide an icon
Optimize your metadata and display an icon for your Snap in MetaMask.
Create a new folder images in the Snap package packages/snap/:
mkdir packages/snap/images
Download
this gas.svg icon file
into that ìmages folder.
Icon attribution
This is a free icon, "Gas" by Mello from the Noun Project.
Your file structure should look like this:
gas-estimation-snap/
├─ packages/
│  ├─ site/
|  |  |- src/
|  |  |  |- App.tsx
|  |  ├─ package.json
|  |  |- ...(react app content)
|  |
│  ├─ snap/
|  |  ├─ images/
|  |  |  |- gas.svg
|  |  ├─ src/
|  |  |  |- index.test.ts
|  |  |  |- index.ts
|  |  ├─ snap.manifest.json
|  |  ├─ package.json
|  |  |- ... (Snap content)
├─ package.json
├─ ... (other stuff)
Open packages/snap/snap.manifest.json in a text editor. This file contains the main configuration
details for your Snap. Edit the npm object, within the location object, and add iconPath with
the value "images/gas.svg" to point to your new icon:
"location": {
  "npm": {
    "filePath": "dist/bundle.js",
    "iconPath": "images/gas.svg",
    "packageName": "snap",
    "registry": "https://registry.npmjs.org/"
  }
}
Open packages/snap/package.json in a text editor. Edit the files array and reference the
images/ folder:
"files": [
  "dist/",
  "images/",
  "snap.manifest.json"
],
2.2. Update your Snap's name
Optimize your metadata and update
your Snap's name in MetaMask.
MetaMask uses the proposedName of the Snap, currently "TypeScript Example" in the template.
Open packages/snap/snap.manifest.json in a text editor.
Edit the "proposedName" property within the metadata to provide a functional name such as
"Gas Estimator":
{
  "version": "0.1.0",
  "description": "An example Snap written in TypeScript.",
  "proposedName": "Gas Estimator",
  ...
}
2.3. Update your Snap's button
Open packages/site/src/components/Buttons.tsx in a text editor.
Edit the Button property to provide functional label text such as "Estimate Gas":
export const SendHelloButton = (props: ComponentProps<typeof Button>) => {
  return <Button {...props}>Estimate Gas</Button>;
};
These three updates are the minimum required to ensure that each user interaction with your Snap is well-informed. However, your Snap will function without these tweaks.
3. Enable network access
To enable your Snap to access the internet using the fetch API,
request the endowment:network-access
permission in packages/snap/snap.manifest.json:
"initialPermissions": {
  "snap_dialog": {},
  "endowment:rpc": {
    "dapps": true,
    "snaps": false
  },
  "endowment:network-access": {}
},
4. Fetch gas fee estimates
Open packages/snap/src/index.ts.
This is the main code file for your Snap.
To get a gas fee estimate, use the public API endpoint provided by
Open Source Ethereum Explorer.
Add the following getFees() function to the beginning of the /packages/snap/src/index.ts file:
import type { OnRpcRequestHandler } from "@metamask/snaps-sdk"
import { panel, text } from "@metamask/snaps-sdk"

async function getFees() {
  const response = await fetch("https://beaconcha.in/api/v1/execution/gasnow")
  return response.text()
}
Next, add the copyable component to the second import of the file:
import type { OnRpcRequestHandler } from "@metamask/snaps-sdk"
import { panel, text, copyable } from "@metamask/snaps-sdk"
Modify the Snap RPC message handler that displays the dialog.
This handler uses a switch statement to handle various request methods, but in this instance there is
only one method, hello.
For the hello method, the handler returns a call to MetaMask with the parameters to display a
dialog, and passes some static strings.
Update the hello method with the following code:
- JSX
- Functions
case "hello":
  const fees = await getFees();
  return snap.request({
    method: "snap_dialog",
    params: {
      type: "alert",
      content: (
        <Box>
          <Text>Hello, <Bold>{origin}</Bold>!</Text>
          <Text>Current gas fee estimates:</Text>
          <Copyable>{fees}</Copyable>
        </Box>
      ),
    }
  });
case "hello":
  const fees = await getFees();
  return snap.request({
    method: "snap_dialog",
    params: {
      type: "alert",
      content: panel([
        text(`Hello, **${origin}**!`),
        text("Current gas fee estimates:"),
        copyable(fees),
      ]),
    }
  });
5. Build and test your Snap
Complete the following steps to build and test your Snap:
5.1. Build your Snap
From the command line, run yarn start.
The following displays:
You can now view site in the browser.

  http://localhost:8000/
Open localhost:8000 in your browser (with MetaMask Flask installed).
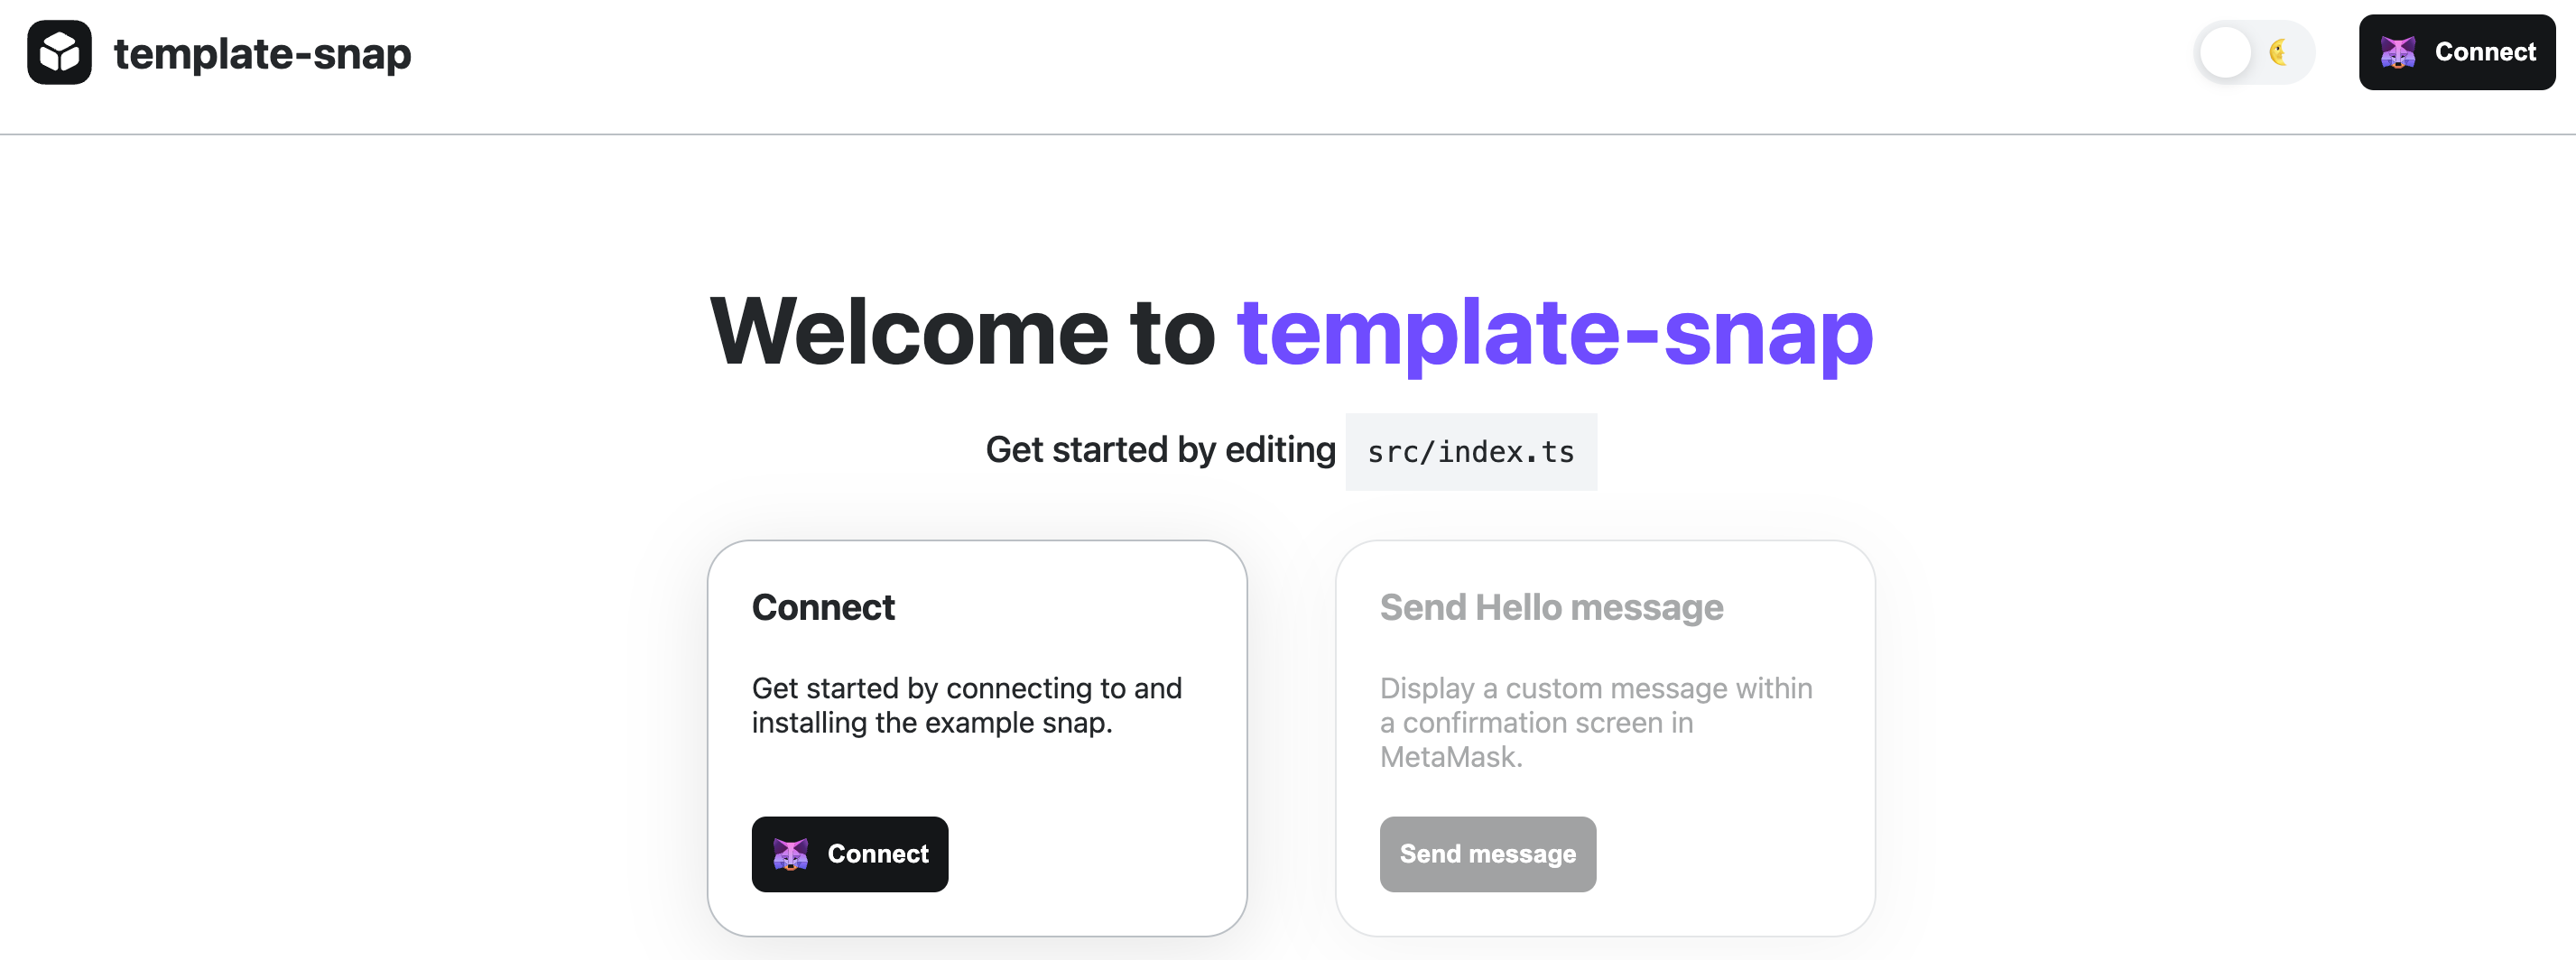
A page like the following displays:

This is a template test dapp for installing and testing your Snap.
5.2. Test your Snap
Select Connect to connect Flask to the dapp. After connecting, you're prompted to install the Snap with the following permissions:
- Allow websites to communicate directly with this Snap.
- Access the internet.
- Display dialog windows in MetaMask.
Next, select Confirm > OK.
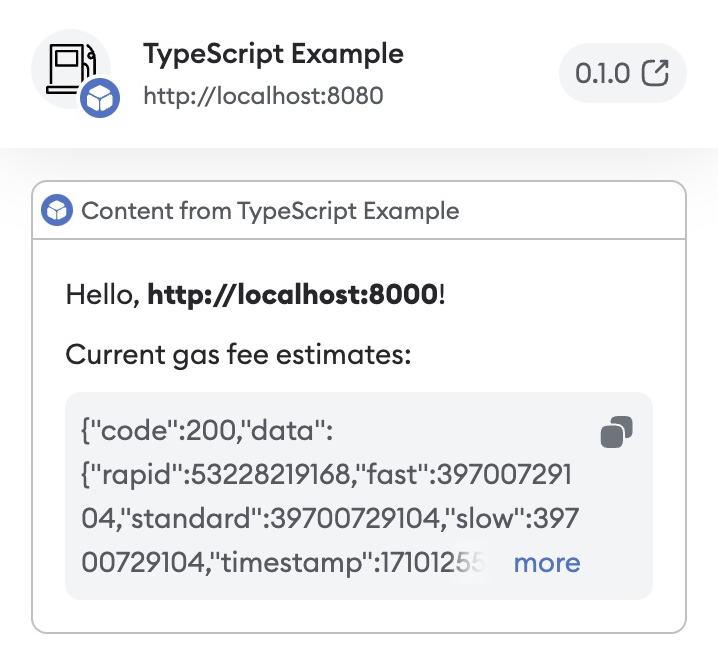
Select the Send message button (or Estimate gas button, if you followed Step 2). A dialog prompt displays with the response from the gas fee API:

Congratulations, you have integrated a public API into MetaMask and displayed real-time gas fee estimates.
Next steps
You can improve your Snap's UX by:
- Completing Step 2.
- Parsing the JSON response from the remote API.
- Formatting the fees for better readability.
Before publishing a Snap, it's also important to customize the metadata and properties of your Snap:
- Update the
locationinsnap.manifest.jsonto your Snap's published location. - Update the
descriptioninsnap.manifest.jsonto a description of your Snap. - Update the
name,version,description, andrepositoryfields of/packages/snap/package.json(even if you do not plan to publish your Snap to npm). - Update the content of
/packages/site/src/pages/index.tsxby changing the name of the method for showing gas fee estimates. If you change the method name in/packages/site/src/pages/index.tsx, ensure you change the method name in/packages/snap/src/index.tsto match.
When editing source, the shasum is set automatically when you build from the command line.
The version and repository fields in snap.manifest.json inherit the values from
package.json and overwrite them in snap.manifest.json.
We recommend updating version and repository in package.json first, then building your Snap project.
After you have made all necessary changes, you can publish your Snap to npm.